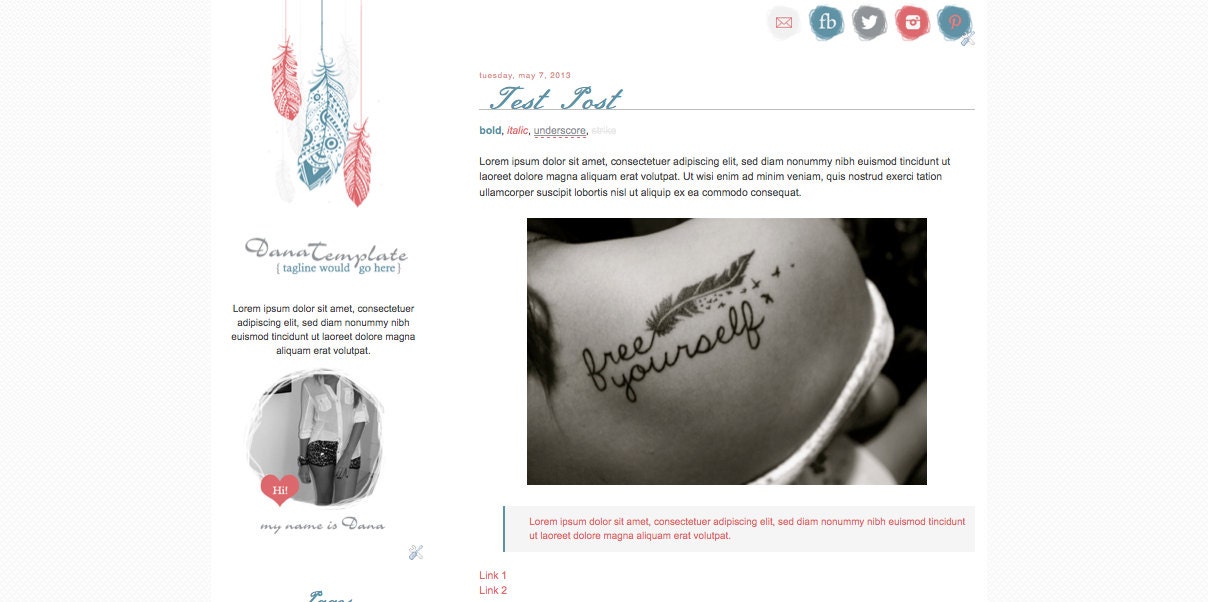
1.) First, create your image. Here is mine;
2.) Upload your image to your favourite image hosting website. I use tiny pic just because its quick, easy and convenient!
3.) Log into your blogger account, and go to "Customize". Then go down to "Advanced" and search for "Add CSS".
4. Grab the code below by selecting it and pressing "copy" then "paste" it into this white space.
.entry-content:after {
content: url(YOURURLHERE);
margin-left: 250px;
}
5. Grab the image url from wherever you uploaded it, and copy and paste it into the little snippet of code you just grabbed where it says, "YOUR URL HERE". Keep in mind you MUST keep the "Http://" part intact at the beginning of your image url or it WILL NOT WORK!
6. Hit apply to blog and viola! You should now have a functioning blog post signature in every post.
If this tutorial was helpful for you, please let me know and I would be more than happy to post more tutorials to help you in your own blog design adventures! :)
Happy Friday!


